

I thought, how can I show others how I have been installing Gorbel work station cranes for so many years now.
Here is the thing, installing these cranes is really extremely simple, with a little bit of a creative mind when one arrives on site.
The challenge quiet often comes down to how do we get,
A. A heavy piece of material into, at times, possibly a difficult location.
B. That heavy piece of material up in to the air!
Start with the customer – find out what they want and give it to them.
Let's Go Through The Steps
I've just arrived on site, my mind explores... where is my site contact, where is this job going to be placed, what, or how messy is the floor! Most importantly though, where do I get my morning coffee!
So I've got my coffee, found my contact and his shown me exactly where they would like the fancy new Gorbel Jib Crane placed.
I can see the challenge on this job is going to be how do I easily get the jib post into location.
Some sites have had forklifts, some sites have had pallet trolleys, some sites have had nothing... so my eyes scout around, what can I use to make life easier on this particular job.
Let's consider, Mission Impossible (Yet nothing is)
Let's start by using a two wheel hand trolley, or maybe you have a nice for wheel trolley to at least get the post inside shall we? Either have worked well in the past for these small light weight crane systems.
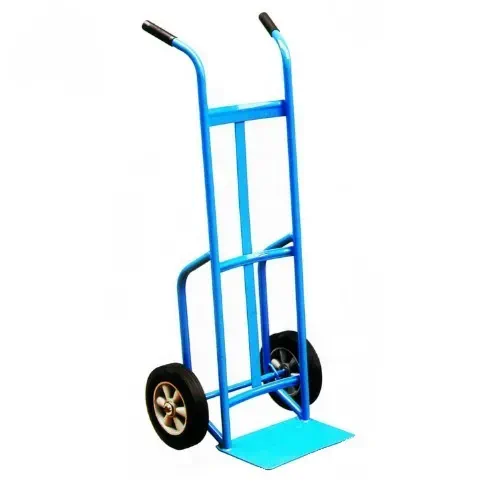
These small trolleys have helped me perform miracles in the past, The reality is that I have simply layed the trolley down and lifted the jib post on to it, occasionally I did strap the post on, yet most times I found I did not have too.
Then it was ever so easy to wheel the post in and navigate around those challenging obstacles
Securing Your Jib Crane Post
The most critical part of installing a jib crane is ensuring the post is installed correctly.
Everything depends upon a safe and secure bolt down method and also that the post or column is as accurate as possible to being level.
The reason we need to make sure the column is nice and level is that when the crane is completed
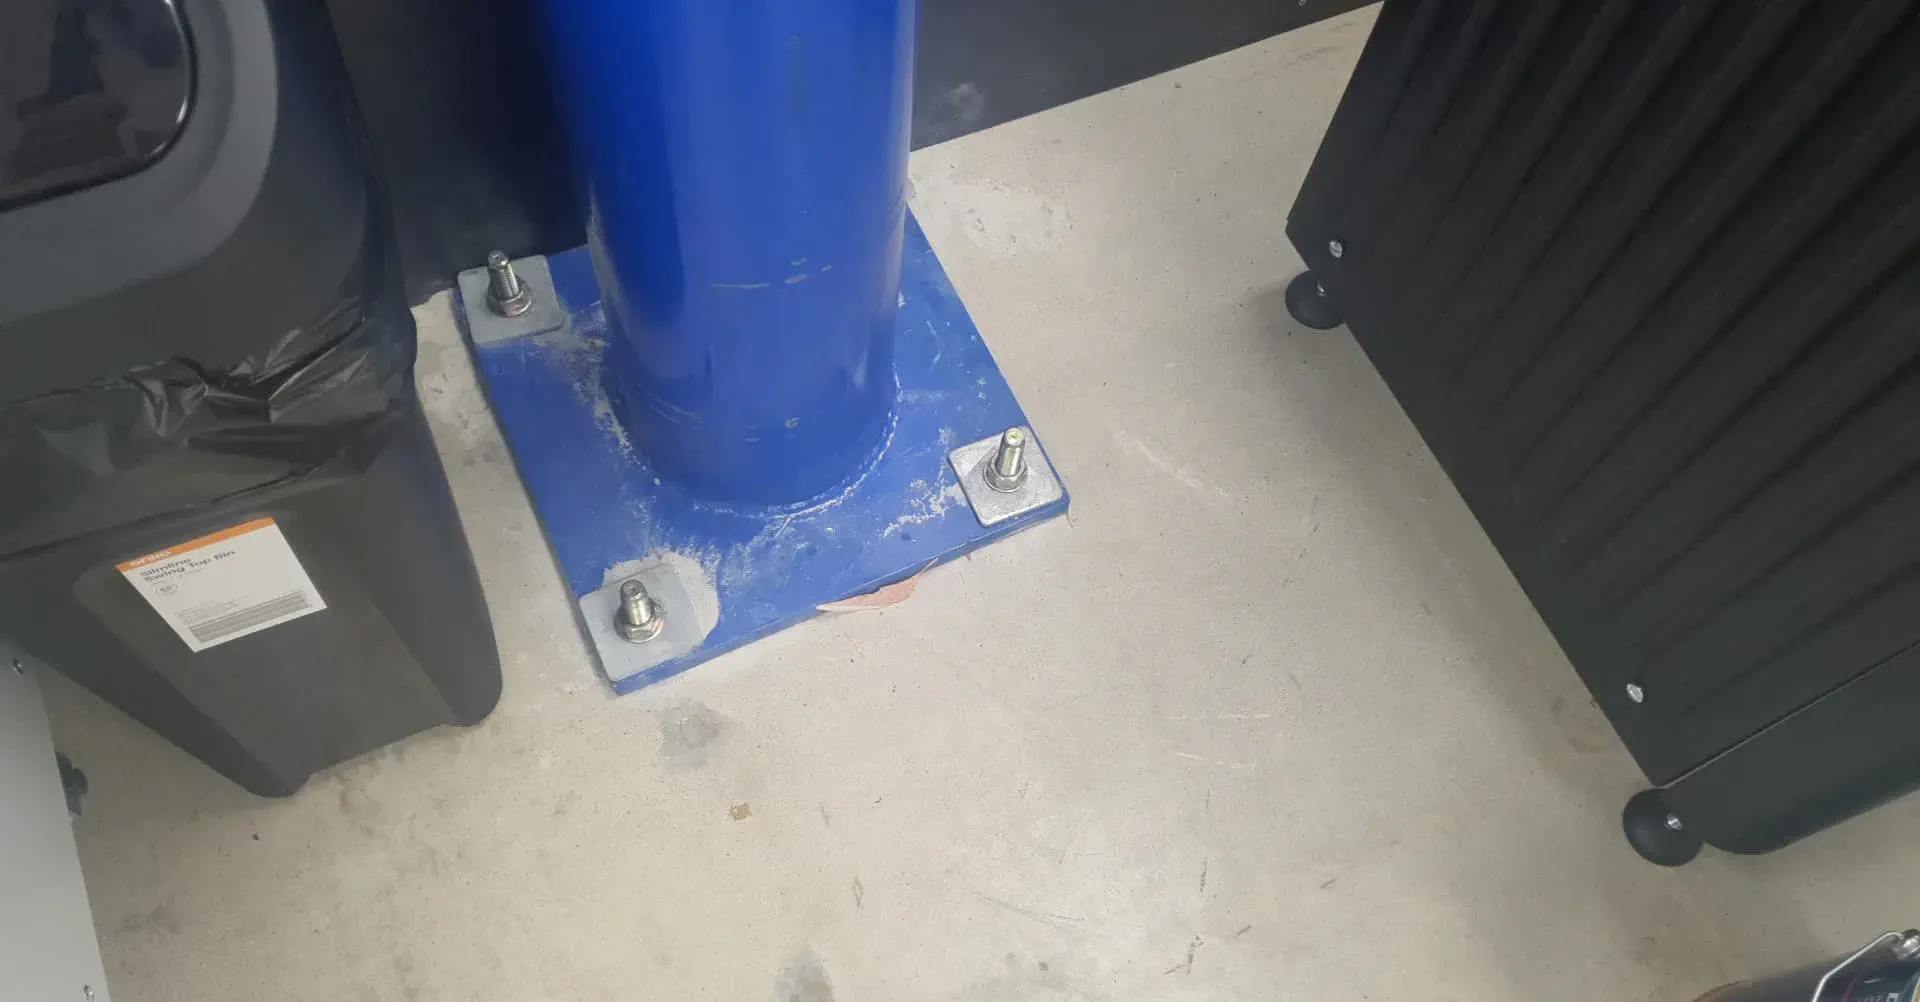
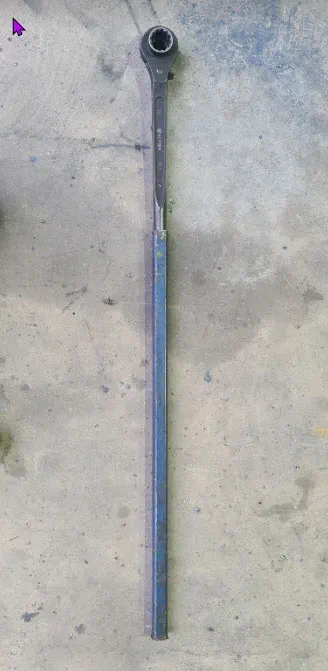
Make Sure Your Footing Bolts Are As Tight As All Heck
Normally I would use my big Dewalt Battey Rattle Gun, yet we also commonly use a large podgy bar and add an additional leverage bar to that.
This way we are guaranteed the footing bolts are as tight as all heck and will not move further when an actual load does get applied.
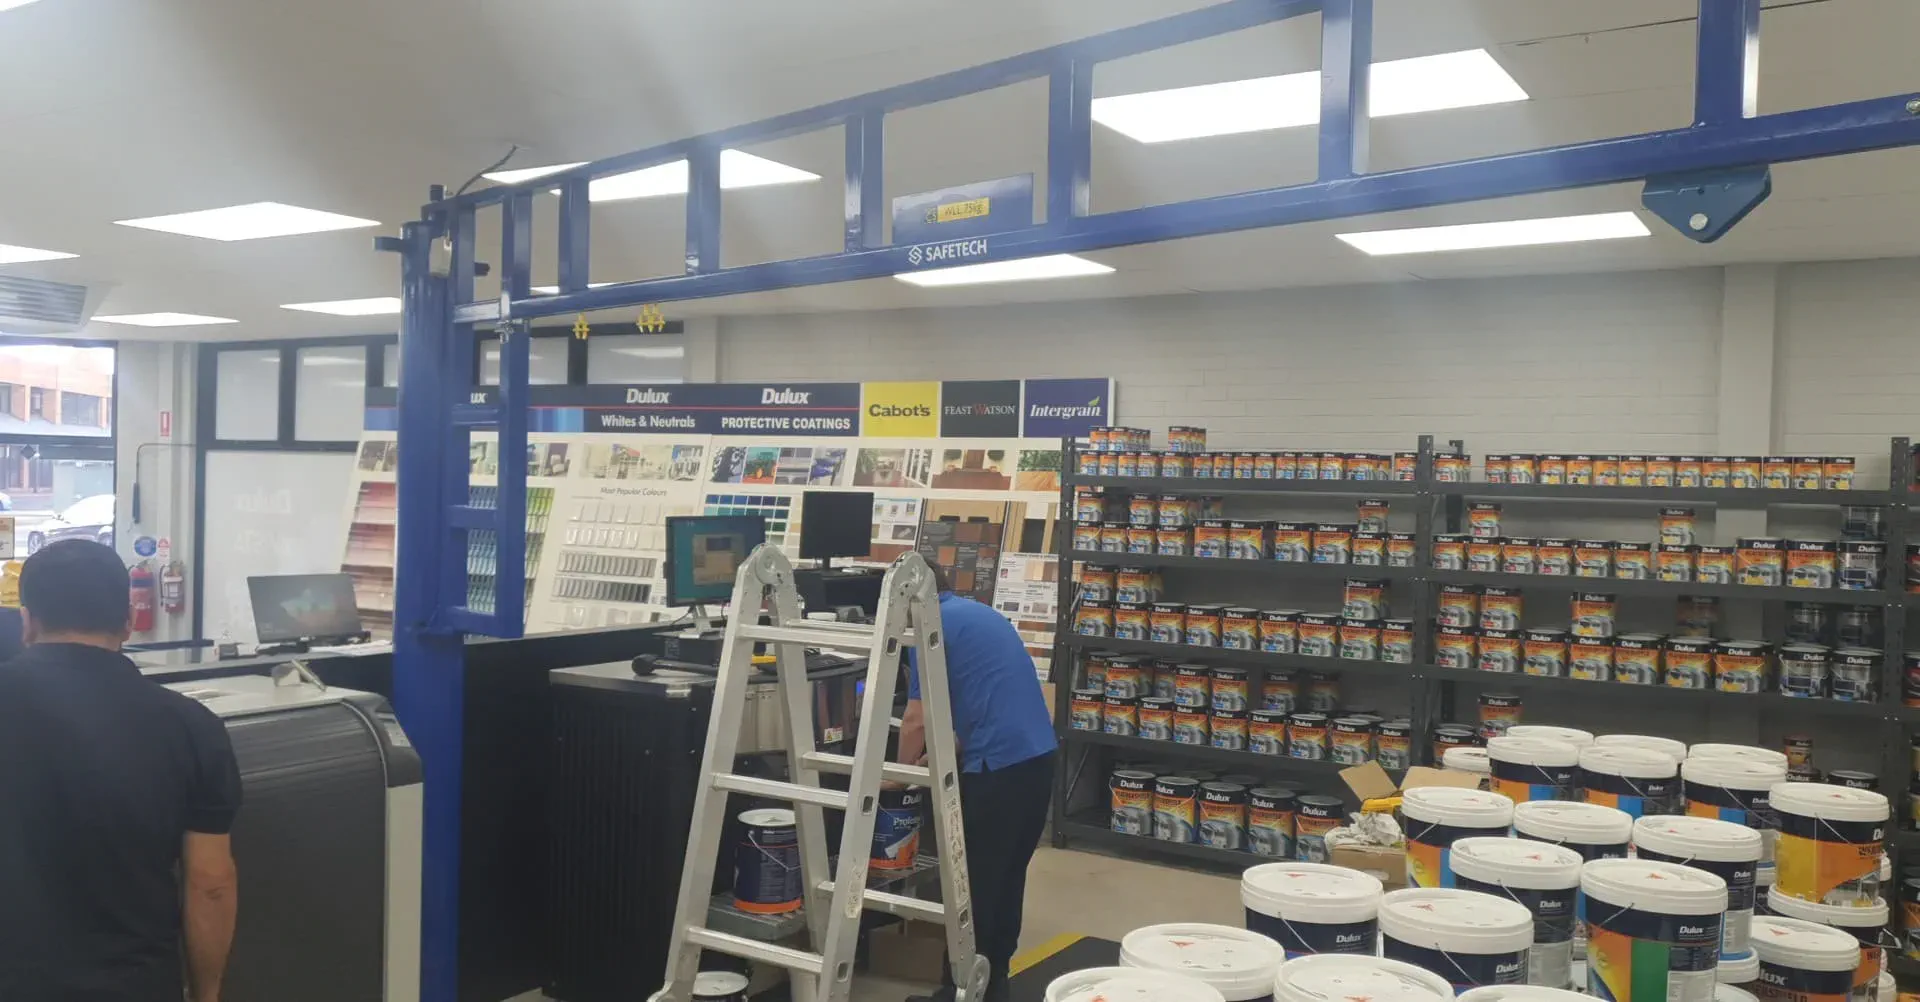
Placement Of The Jib Arm
Now that we have the post secure, the bolts are as tight as all heck it is time to sit the jib arm on top.
With so many options associated to lifting heavy items like this I personally always come back to "what is available on site"
Do we have a forklift? Yes/No
Do we have a scissor lift? Yes/No
Do we need to organise a Duct Lift possibly Yes/No
Reality is we need to ensure we are lifting the jib arm into position in a completely safe way.
Safe for the installers personal safety and also the safety of those in the working environment.

Thumb Controlled Kito Hoist Ready To Go
Now that the jib arm has been added it's time to add the hoist trolley, hoist and electrical cables.
This is pretty easy as we just need o assemble everything on the ground and then slide the trolley into the end of the track with our end stop bolt and buffer.
The final stage associated to electrical supply cable is to make it nice neat and presentable. To do that, I normally move the trolley to its full extent and then securing it at the beginning of the track. Once that step is done, then I simply bring the trolley and hoist back to the start of the track and make equal loops between my cable sliders or trolleys. Boom, nice clean and tidy!
Trouble Shooting The Kito Hoist
Preparing to install the hoist
Now that you have the jib crane post and arm standing up, it's time to add the hoist on.
Before we hook the hoist up though, sometimes it easier to prepare what you can at ground level!
In this short video... I'll walk you through have I've managed to make my life easier after so many years in the crane industry!
Placing The Hoist To Prevent Future Call Outs From Blown Fuses
We've experienced an extremely low volume of issues with these jib cranes and Kito electric hoists.
And 90% of the time when something does go wrong, it is normally a blown fuse. Yet sometimes this fuse blows by operators using the thumb control rapidly up/down, yet the most common area I have seen this issue arise is in fact when an operator hits the vertical member with the hoist.
Ultimately, when going up or down, the fuse is warm and with a harsh knock, the fuse can blow quiet easily.. Normally it blows the two fuses as mentioned in the previous video.
So, again, the ultimate best way is to consider placing the hoist on the way that protects us from future call outs.
Changing the control fuses on a Kito EDCL Hoist
I've only ever seen these fuses blow when the hoist gets crashed in to the end stop. The stop which limits the travel.
I've actually seen these fuse literally pop out of the fuse holder! Man, they must have slammed that hoist in to the end stop!!
It's really quiet easy to change the fuse as well...
Honestly, it is a 10 minute job to change 2 fuses. With a suitable access and a Phillips head screw driver is all that's needed.
1. Turn power off.
2. Undo 2 Phillips head screws holding the beige cover on.
3. Locate 2 5amp fuses under the wiring in the lower area of the wiring.
4. Recover to test.
5. Test
6. All working?
7. Yes, turn power off and relocate beige cover.
8. No... Call TLS whilst on site
9... Sorry my video from my phone couldn't be made any easier!